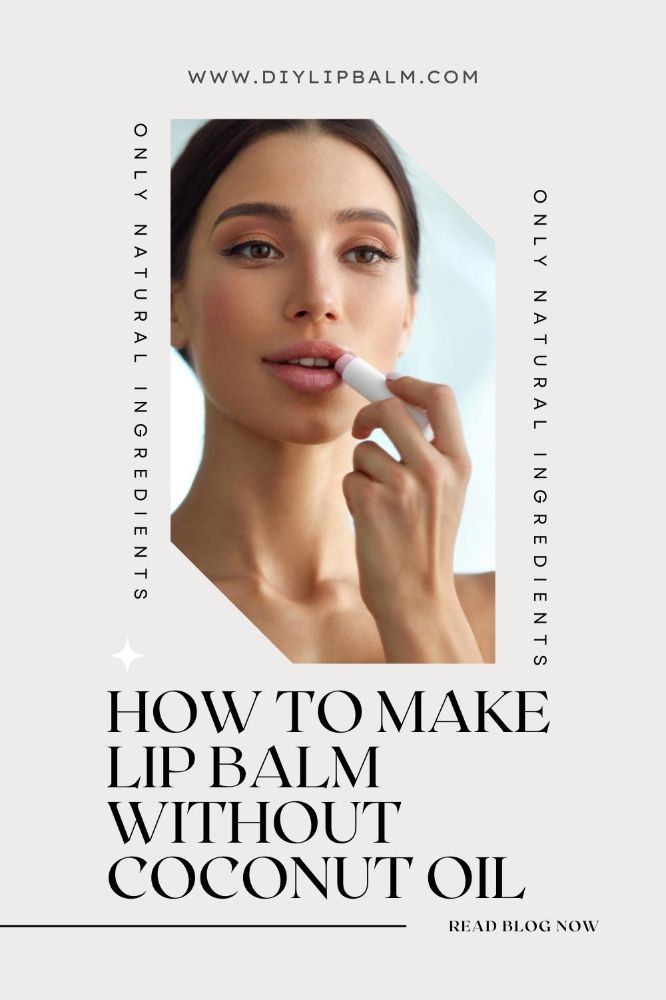
How to Make Lip Balm Without Coconut Oil - Only Natural Ingredients
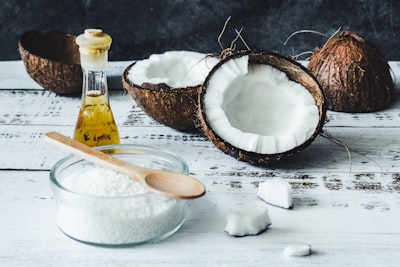
Coconut oil has long been considered one of the best ingredients for homemade lip balm, but not everyone is a fan. While coconut oil helps keep your lip balm solid and smooth, some people have coconut allergies or just plain don’t like the smell. Luckily, there are several great alternatives to coconut oil that will still give you a firm lip balm that provides moisture and protection.
Alternatives for Coconut Oil
If you’d prefer not to use coconut oil in your DIY lip balm, here are the most common substitutes:
Olive Oil
Olive oil is easy to find in stores like coconut oil, and it also works wonders for your skin and lips. It’s packed with antioxidants and fatty acids, so it helps keep your lips hydrated while acting as a natural barrier to keep them protected from the elements.
Jojoba Oil
Jojoba oil is an anti-inflammatory option that people love using in skincare products since it’s the closest oil to our skin’s natural sebum. This means it can give your lips the same nutrients that your skin naturally provides for itself.
Grapeseed Oil
Grapeseed oil is a super lightweight alternative that’s full of vitamins, beta-carotene, and Omega-3 fatty acids, so it helps your lips retain their natural moisture by forming a protective barrier.
Avocado Oil
Avocado oil is universally beloved in cosmetics and skin care products because it’s rich in antioxidants, nutrients, and oleic acids. It not only keeps your lips moisturized but has also been found to help decrease inflammation and heal dry, cracked lips.
Easy DIY Olive Oil Lip Balm
This DIY lip balm recipe uses extra virgin olive oil, which is perfect for keeping the delicate skin of your lips moisturized. Be sure to use a high-quality extra virgin olive oil for this, since the better the ingredients you use, the better your lip balm will be!
Beeswax, shea butter, and cocoa butter are all used to pack a lot of hydration in while helping to firm up your lip balm. These ingredients are all popular in DIY lip balms and can be easily found online or in any health store.
We’re using peppermint essential oil for its crisp, refreshing fragrance and soothing properties, but you can use any essential oil you’d like! When choosing an essential oil, make sure to stay away from oils that are considered phototoxic or sensitizing, since these can irritate and harm your lips.
Ingredients:
- 1 tbsp shea butter
- 1 tbsp cocoa butter
- 2 tbsp beeswax pellets
- 2 tbsp extra virgin olive oil
- 10-12 drops of peppermint essential oil
Steps:
1. Set up a double boiler to melt the ingredients with indirect heat – this will ensure your mixture melts evenly.
2. Put the shea butter, cocoa butter, and beeswax pellets into the double boiler over medium heat.
3. Add the olive oil and stir well, making sure not to let the mixture overheat.
4. Remove from heat and add the peppermint essential oil.
5. Pour into lip balm tubes – this recipe will make around 12 lip balms.
6. Allow the lip balms to cool and solidify for around 30 minutes before applying.
Which oil is best for DIY lip balm?
That’s entirely up to you! When it comes to carrier oils like olive oil and jojoba oil, you want to find one that’s highly moisturizing but not so lightweight that it’ll result in a runny lip balm. The beeswax will help solidify your ingredients, but the type of oil you add can also help firm it up as well. Overall, you should pick whichever high-quality oil you like best, but always research beforehand to make sure it isn’t too lightweight to produce a solid lip balm.
How long does DIY lip balm stay good for?
Since lip balms made at home don’t have any synthetic preservatives, they do have a shorter shelf-life than most name-brand lip balms that you can find in stores. You should try to use DIY lip balms within three months but make sure it still looks and smells fine before applying it to your lips.
In most cases, lip balm doesn’t get ingested when properly applied. But there’s always a chance of accidental ingestion, so if you’ve had your homemade lip balm for longer than a few months or you’re not sure how long it’s been since you made it, you should err on the side of caution and toss it out. You can always make more, after all!
Share on Pinterest

About the Author: Jenni Mac
Hi, I’m Jenni! I am a health and beauty blogger that loves making homemade beauty products. I have been blogging for over five years now about natural products, DIY skin care, inner beauty, and anything else to do with natural living.
Here you will learn all about DIY lip balm! From DIY recipes, to recipes for lip scrubs and glosses, this site has it all! With witty posts about how to take care of your lips in the winter and summer, you'll find everything you need to keep them happy and healthy.
2024 © DIY Lip Balm

