Is Castor Oil Good for Your Lips? Plus DIY Lip Balm Recipe
Is castor oil good for your lips? If your lips are prone to drying out and getting chapped, you’re not alone. The skin of our lips is thin and doesn’t have a protective barrier of sebum to keep them safe from harmful elements like wind and sunlight. If you want to protect your lips, you should consider using castor oil for its moisturizing benefits. In this blog post, we’ll discuss the benefits of castor oil and how to use it on your lips.
What is Castor Oil?
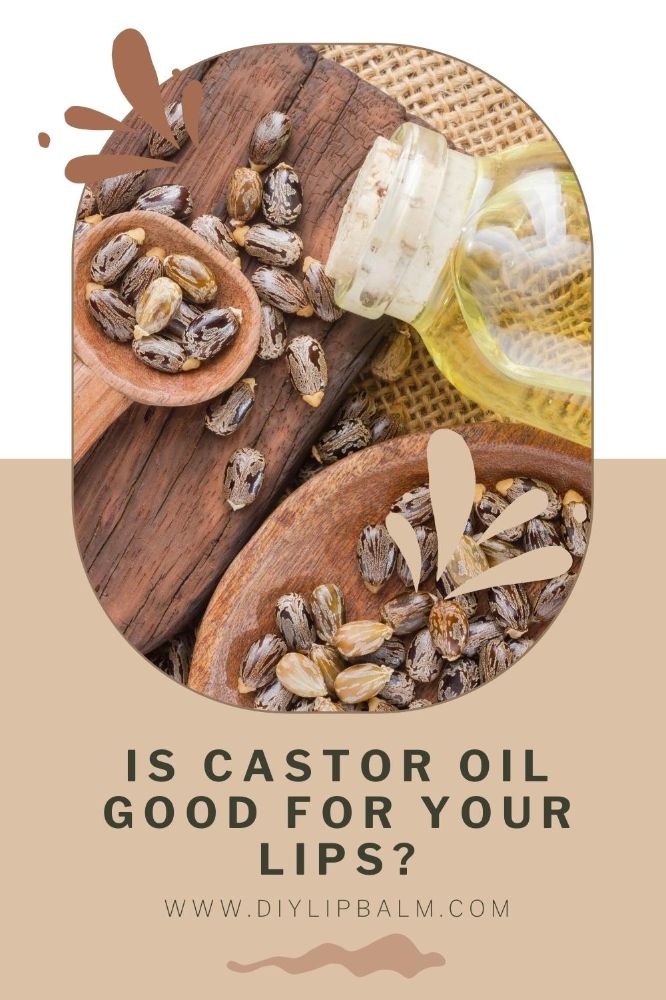
First used by ancient Egyptians thousands of years ago, castor oil is produced by extracting oil from the seeds of the Ricinus communis plant. This is typically done by cold pressing, which is a method to separate oil from seeds without using any heat. Once the oil is collected, it’s clarified using heat.
Castor seeds contain a toxic substance called ricin, which is deactivated during the oil extraction process. Studies have shown that castor oil does not contain the ricin found in seeds, which makes it safe for ingestion or use in skincare products like lip balm.
Is Castor Oil Good for Your Lips?
Castor oil contains fatty acids, like Ricinoleic acid, which act as a skin moisturizer and protective barrier to keep your skin – and the sensitive skin of your lips – from drying out. It’s a natural emollient that helps soothe chapped lips, even out discoloration, and keep them looking shiny and soft.
Are there any risks of using castor oil?
Although studies have shown that castor oil is not a skin irritant, some people report having an allergic reaction when it’s applied to their skin. This appears to be rare, but you should consider testing for a reaction first by applying some castor oil to a small patch of skin and watching for any redness for 24 hours before attempting to use it.
How do you use castor oil on your lips?
You can apply castor oil directly to your lips for the quickest option, but if you’d like a convenient alternative to messy oil, you can use castor oil as an ingredient in homemade lip balm. We love using castor oil in our DIY lip balms thanks to its hydrating benefits, so if you need some inspiration, check out our favorite recipes featuring castor oil.

DIY Spearmint Lip Balm
This lip balm uses beeswax and castor oil to keep your lips shiny and hydrated all day. It also uses cocoa butter, which is a great natural moisturizer that helps soothe and cleanse your lips, and – bonus – smells like chocolate! We’ve also added spearmint essential oil for an extra boost of fragrance and healing.
Ingredients:
- 2 tbsp castor oil
- 1 tbsp cocoa butter
- 1 tbsp beeswax pellets
- 15 drops of spearmint essential oil
Tutorial Steps for Lip Balm
- Add the cocoa butter and beeswax to a double boiler over low heat and melt until combined
- Add the castor oil and stir, making sure not to overheat
- Remove from heat and add the spearmint essential oil
- Pour into lip balm tubes or any other type of container you’d like to use
- Allow to cool and solidify for around 30 minutes
Make sure the mixture has fully cooled inside of the containers before attempting to use it since using it while it’s still too hot can burn your lips and spill since the mixture won’t be fully solidified yet.
DIY Vitamin E Lip Balm
This lip balm uses cocoa butter, coconut oil, and beeswax for their natural SPF properties to give you protection from the sun’s harmful UV rays. The castor oil and vitamin E add an extra boost of moisture and health benefits to keep your lips nourished and soft!
Ingredients:
- 1 tbsp castor oil
- 1 tbsp coconut oil
- 1 tbsp cocoa butter
- 1 tbsp beeswax pellets
- ½ tsp vitamin E oil
Lip Balm Tutorial Steps
1. Add the cocoa butter and beeswax to a double boiler over low heat and melt until combined
2. Add the castor oil and coconut oil and stir, making sure not to overheat
3. Remove from heat and stir in the vitamin E oil
4. Pour into lip balm tubes or any other type of container you’d like to use
5. Allow to cool and solidify for around 30 minutes
Make sure the mixture has fully cooled inside of the containers before attempting to use it since using it while it’s still too hot can burn your lips and spill since the mixture won’t be fully solidified yet.
Share on Pinterest

About the Author: Jenni Mac
Hi, I’m Jenni! I am a health and beauty blogger that loves making homemade beauty products. I have been blogging for over five years now about natural products, DIY skin care, inner beauty, and anything else to do with natural living.
Here you will learn all about DIY lip balm! From DIY recipes, to recipes for lip scrubs and glosses, this site has it all! With witty posts about how to take care of your lips in the winter and summer, you'll find everything you need to keep them happy and healthy.
2024 © DIY Lip Balm

